
In the previous section, you picked out a server with enough threads for real VM density, namely a used dual-Xeon box with 32 or more threads. This section puts an operating system on it: Proxmox VE, the hypervisor every later step in this guide builds on.
Boot the Installer and Accept the License
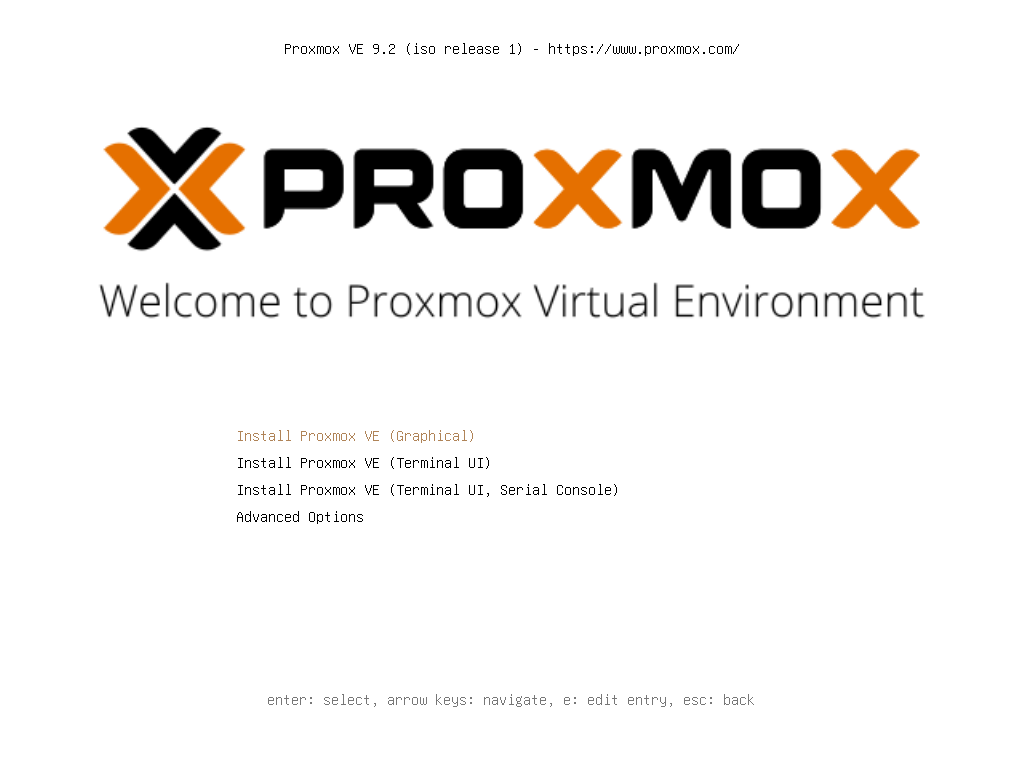
Proxmox VE ships as a single ISO with its own installer built on Debian, so booting from it looks a lot like booting any Linux install media: a boot menu, then a graphical wizard. The graphical option is selected by default and is the one worth using for a first install, since the terminal UI options exist mainly for serial consoles on real hardware without a display attached.
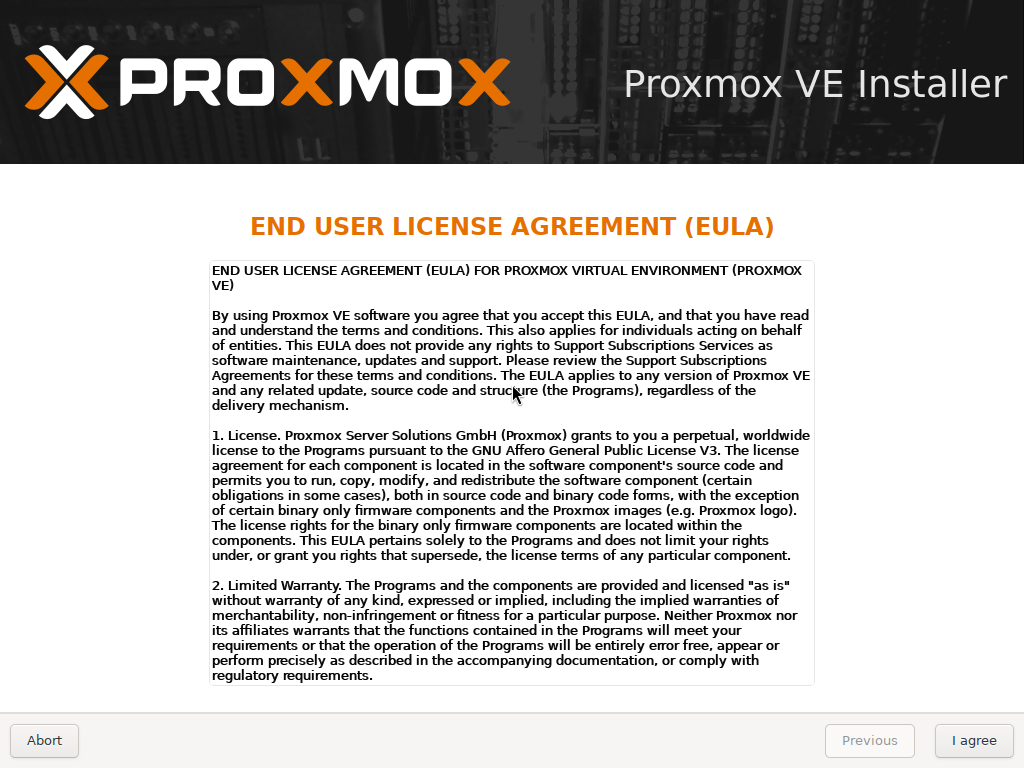
The installer's first real screen is the license agreement, and it's worth actually reading once: Proxmox VE itself is licensed under the GNU AGPLv3, source code included, which is why the used-hardware advice from Part 1 works so cleanly here too, there's no per-socket licensing fee sitting on top of the hardware cost the way there would be with some commercial hypervisors.
Pick the Target Disk and Location
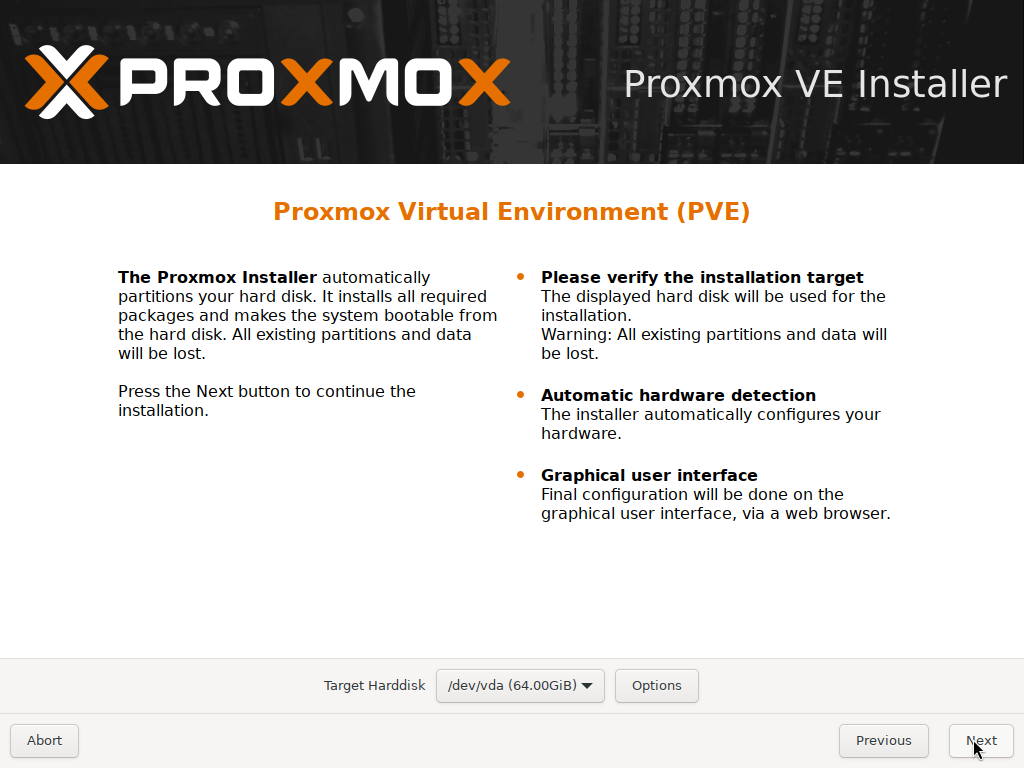
Next, the installer shows which disk it plans to erase and asks for confirmation before touching it, the same warning Part 1 already flagged as something to take seriously on a server that might have more than one drive installed.
The Options button next to the target disk opens the filesystem choice, including ZFS with software RAID across multiple drives if the server has them; ext4 on a single disk, shown here, is the simpler starting point for a first install.
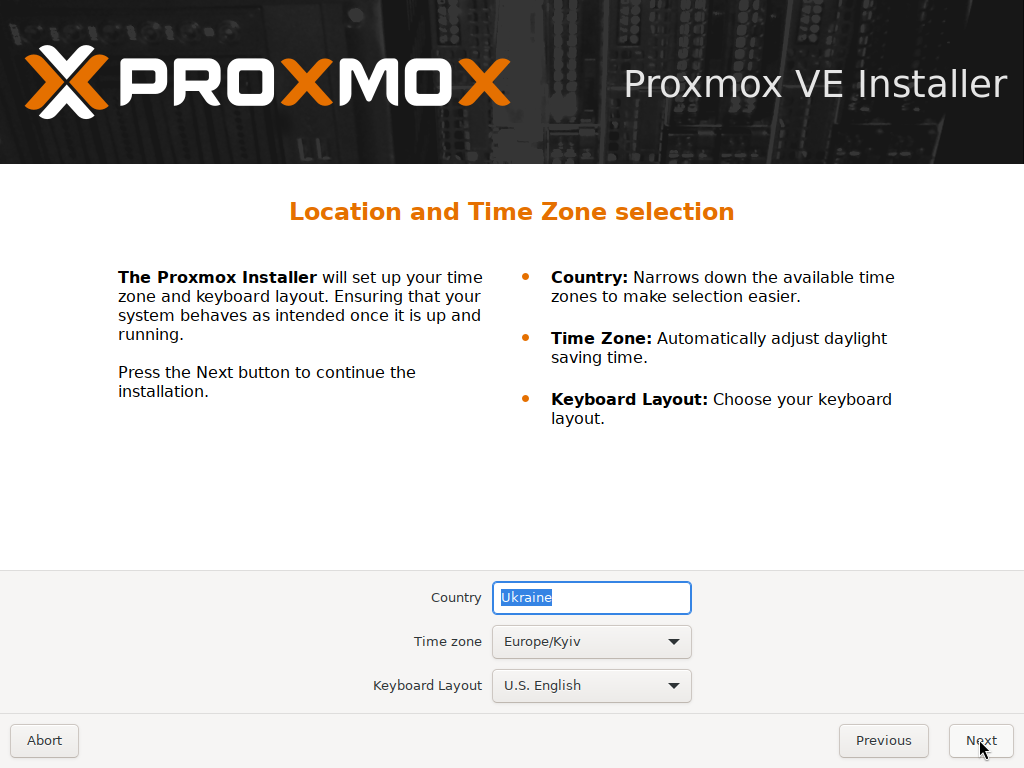
Location and time zone come right after, and both get a reasonable guess from the network the VM is already on; on real hardware they'll guess from whatever the server's own uplink resolves to, which is worth double-checking rather than assuming it's correct.
Set the Root Password and Admin Email
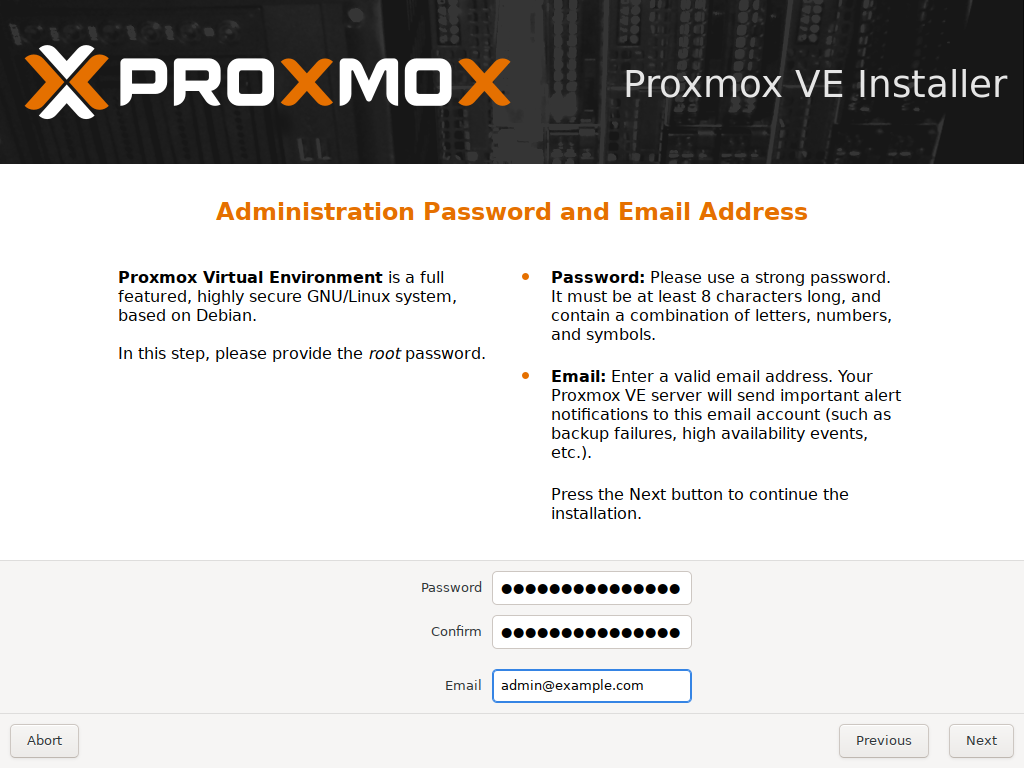
This is the one credential the whole platform hinges on: Proxmox VE has a single root account by default, with no separate setup-time admin user the way some distros offer. The email address isn't cosmetic either, it's where the built-in alerting sends notices for things like failed backups later on, so it's worth pointing at an address that actually gets checked rather than a placeholder.
Configure the Management Network
The network screen sets the hostname, IP, gateway, and DNS server the management interface uses, all pre-filled from whatever the installer's own DHCP lease picked up. On real hardware with a static IP already planned, this is the moment to overwrite those fields rather than accept the DHCP guess.
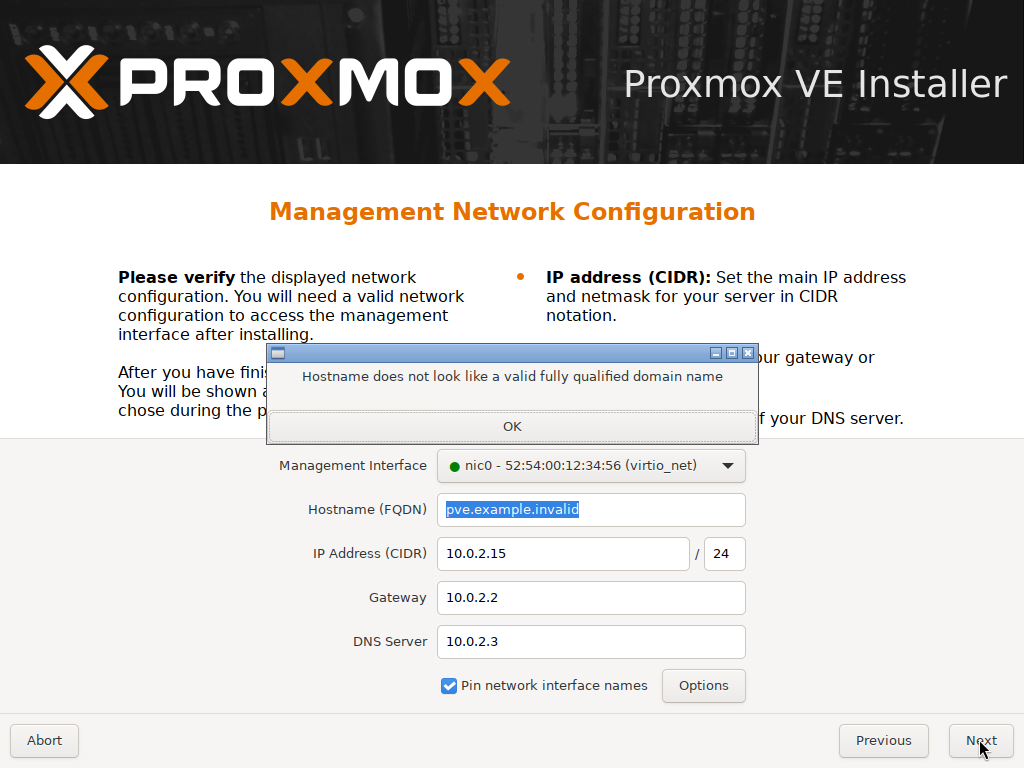
What happens if the hostname doesn't look like a real domain?
The installer refuses to continue. Proxmox requires a fully qualified domain name here, since that FQDN becomes part of the server's own SSL certificate and cluster identity later; a bare hostname or a placeholder like the one below gets rejected outright.
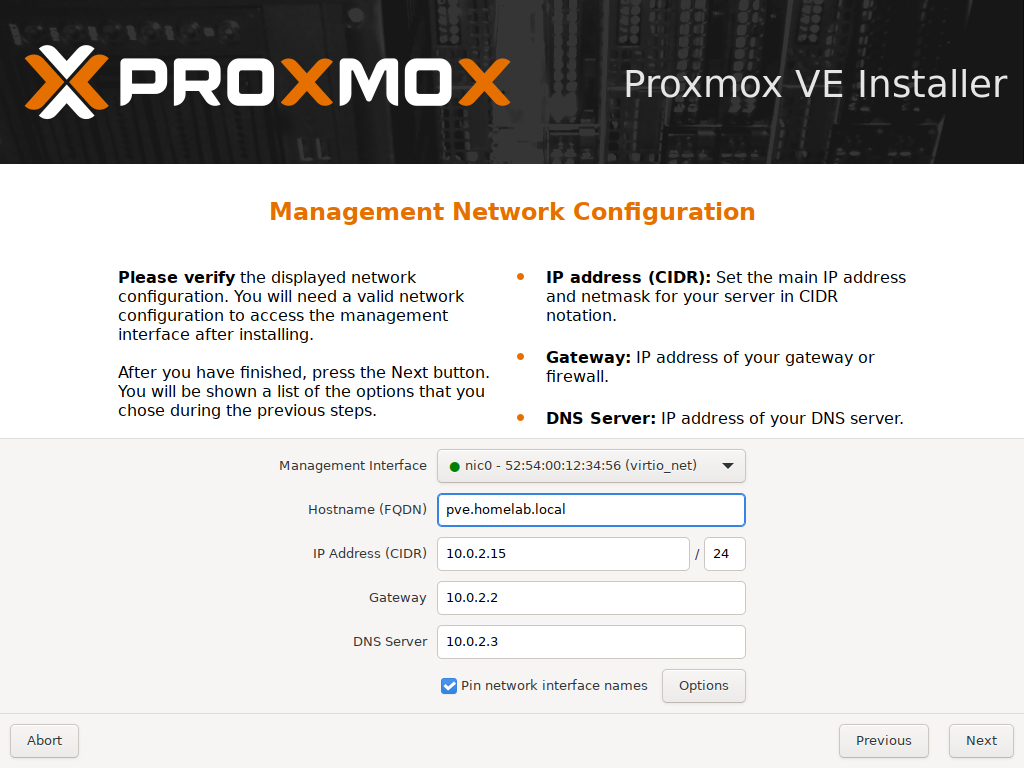
Before clicking Next on this screen: make sure the gateway and DNS server actually match the network the server will live on, rather than trusting the installer's DHCP guess blindly. To check, compare them against the router or switch configuration for that network; getting this wrong doesn't break the install, but it can lock the freshly installed server out of its own web interface until someone corrects it from the console.
Swapping in any valid FQDN, even a made-up one on a private lab network like pve.homelab.local, clears the error and lets the install continue.
Review and Start the Install
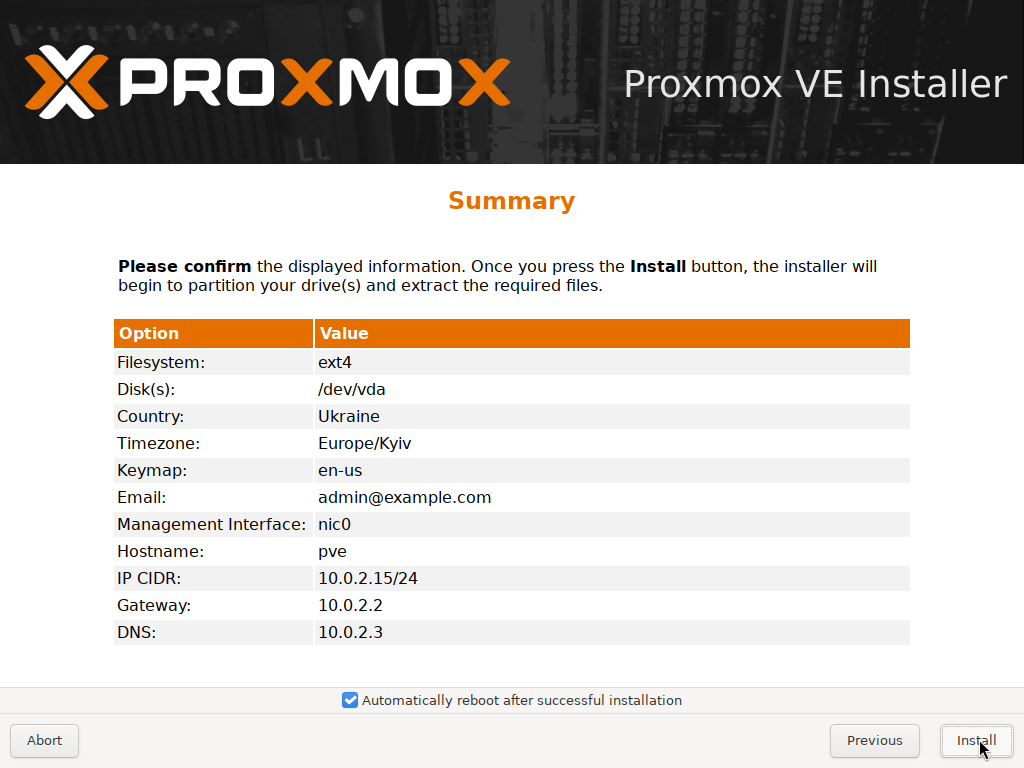
Every choice from the previous screens lands on one summary table before anything gets written to disk, the same review-before-commit pattern the installer in Part 1's future sibling guides will keep using.
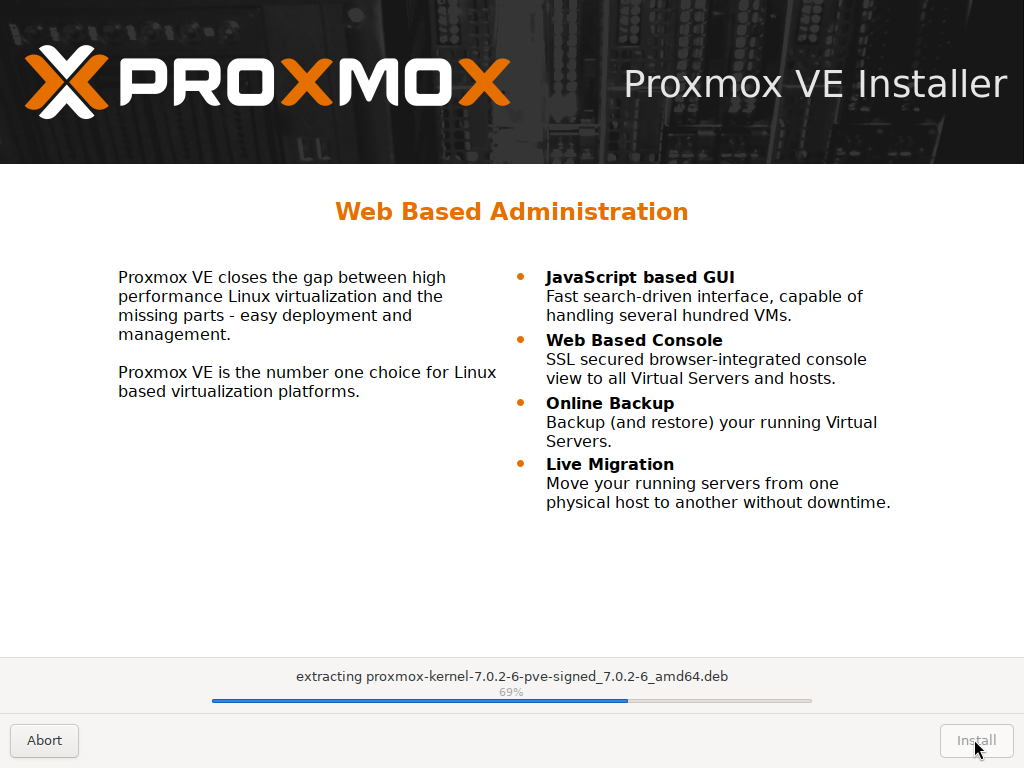
Clicking Install starts real work: partitioning the disk, then extracting several hundred packages while a slideshow describes what Proxmox actually does. The extraction step is the slow part, and how slow depends entirely on the disk and CPU underneath it: a handful of large packages, kernel and firmware images especially, can make the progress bar sit still for a minute or two even on capable hardware, which is normal rather than a sign anything has stalled.
Reach the Web Interface
Once extraction finishes, the installer writes the bootloader and reboots into the freshly installed system on its own, no further input needed. The very first thing that system shows, before any login, is the address of the web interface that does the rest of the setup from here on.
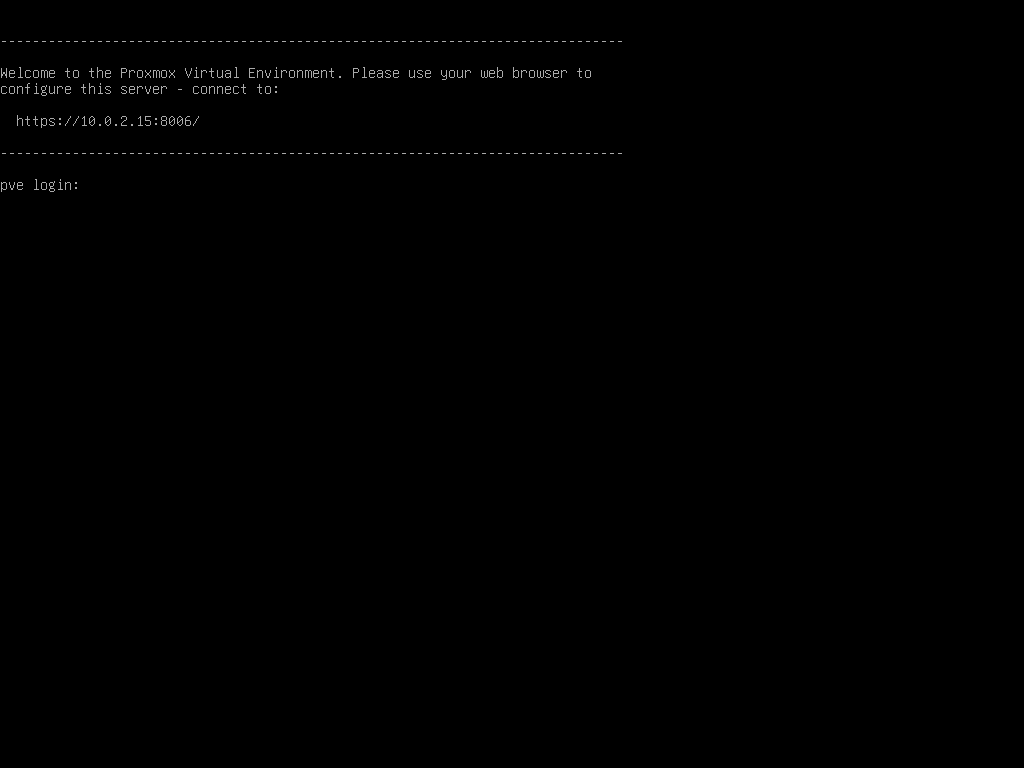
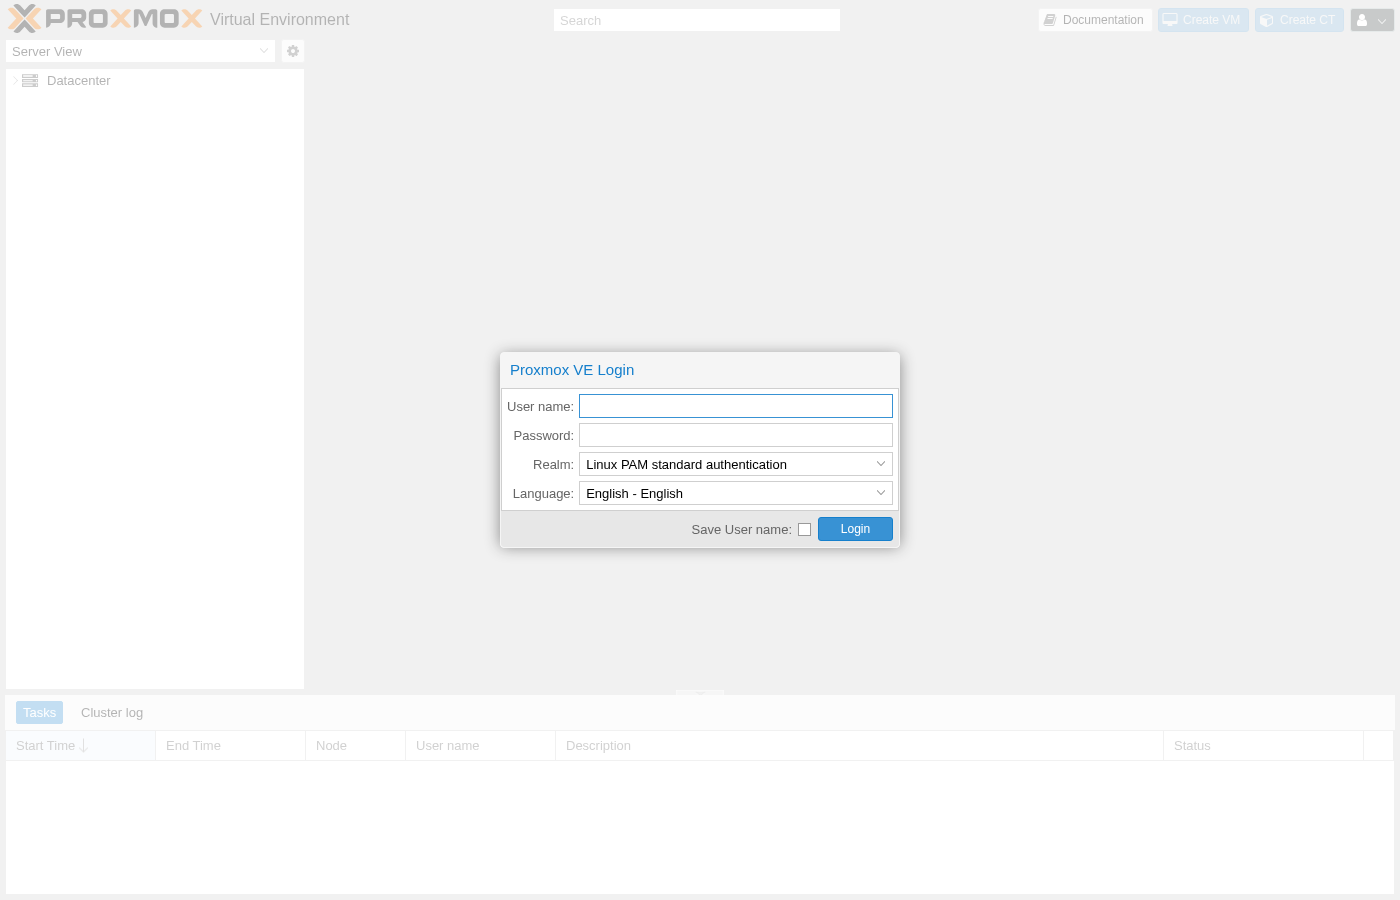
That address uses a self-signed certificate the first time it loads, so a browser will flag it as untrusted before letting the page through; that's expected on a server that hasn't been given a real certificate yet, and clicking through the warning is the normal way past it. Past that warning sits the actual Proxmox VE Login screen, the same one every later visit to this server goes through.
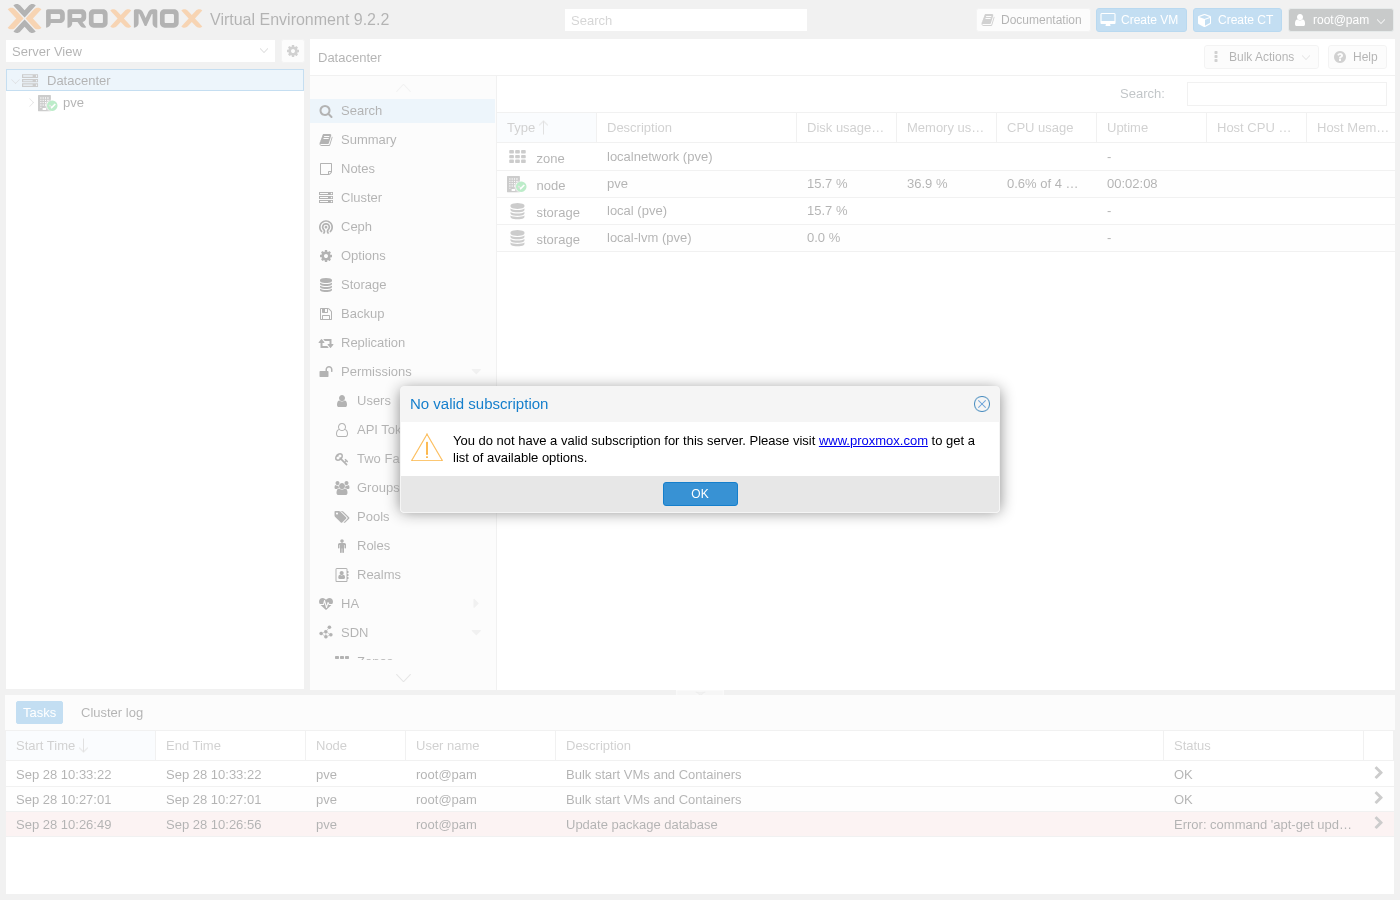
Logging in with the root account and the password set earlier drops straight into the Datacenter view, with the new node already listed under it. One popup shows up on a fresh install without hesitation: a reminder that this server has no paid subscription attached, which is normal and expected on a server installed from the free, no-subscription repositories rather than through a paid Proxmox contract. Closing it doesn't limit anything the rest of this guide does.
In summary
- Proxmox VE installs from a single ISO with no separate license key to buy.
- The management network needs a real, resolvable FQDN as its hostname.
- Package extraction is the slowest step and can pause the progress bar without anything being wrong.
- The finished install points straight at its own web interface on port 8006.
In the next section, you'll log into that web interface for the first time and configure the network bridge and storage a real platform needs.