
In the previous section, you chose the hardware, namely a machine with matched disks for the pool and a separate boot SSD. This section puts TrueNAS on that SSD and turns the data disks into a storage pool.
Download TrueNAS and Write the Installer
TrueNAS is free, and its installer comes as a single ISO file from the TrueNAS download page. The project now calls the free edition TrueNAS Community Edition, and the file name still carries the older SCALE label, as in TrueNAS-SCALE-25.10.7.iso. The ISO weighs about 2.2 GB, so the download takes a few minutes on a normal connection.
Why check the file before using it?
Because a damaged download fails in confusing ways halfway through an install, and a tampered one is a security problem. The download page lists a SHA256 checksum next to the file. Compute the checksum on your own copy and compare the two strings:
sha256sum TrueNAS-SCALE-25.10.7.iso
54ce9441ce66966a392e28f63604ca3c2c083d0bec4db7bb5af2f74f7a007c8e  TrueNAS-SCALE-25.10.7.iso
On Windows, certutil -hashfile TrueNAS-SCALE-25.10.7.iso SHA256 prints the same value, and on macOS shasum -a 256 does. If the strings differ even by one character, download the file again.
Next, write the ISO to a USB stick with a tool such as balenaEtcher, Rufus, or dd. The stick only boots the installer once, so any 8 GB stick will do.
Before writing the stick: make sure it holds nothing you need. To check, open it in your file manager, because writing an ISO erases everything on the stick.
Boot the Installer and Install to the SSD
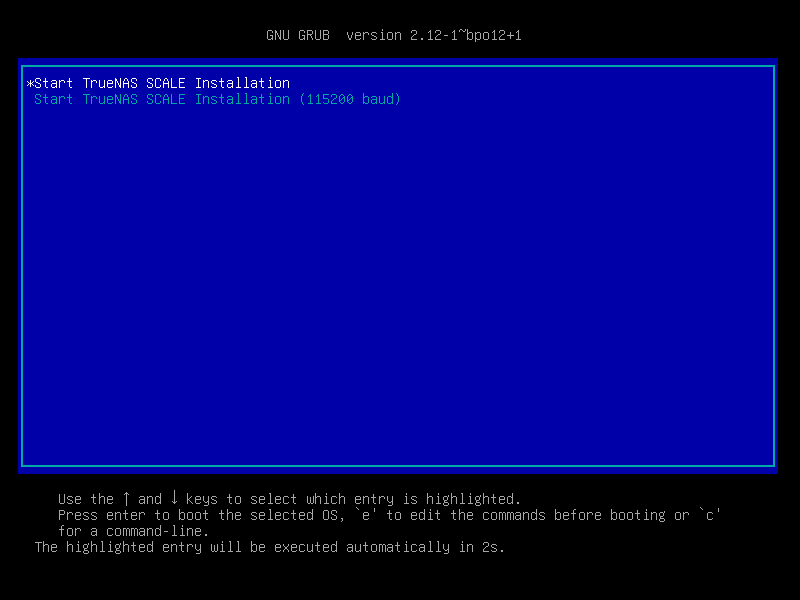
Plug the stick into the NAS, power it on, and open the boot menu with the key your motherboard shows at startup, often F11 or F12. Pick the USB stick, and the installer's own boot menu appears. The first entry starts the installation by itself after a couple of seconds.
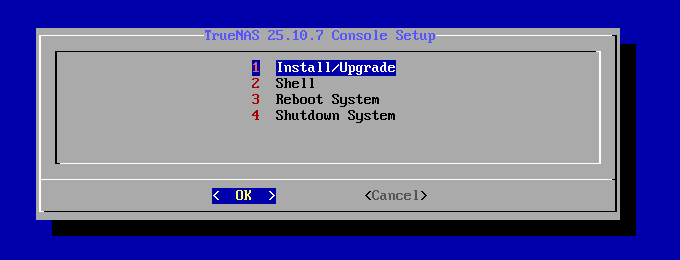
After a minute or two the system loads into memory and shows the Console Setup menu. Install/Upgrade is the entry you want. The Shell entry below it opens a command line on the installer, which you only need if something goes wrong.
Choose the Boot Disk
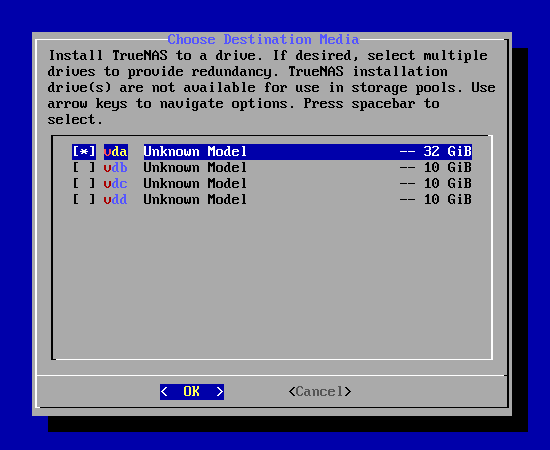
The installer lists every disk it finds and asks which one should hold TrueNAS. Move to the boot SSD, press the space bar to mark it with [*], then press Enter. Mark the boot SSD and nothing else. The installer accepts two drives for a mirrored boot device, and a budget NAS gets by with one. Every disk you mark here is erased and then reserved for the system, so a data disk marked by mistake can't join your pool later.
How do you tell which disk is which when every model reads the same?
By size and serial number. The boot SSD is usually the smallest disk in the list. If two disks share a size, power the NAS off, unplug the data disks, and run the installer with only the SSD attached, then plug the data disks back in afterward.
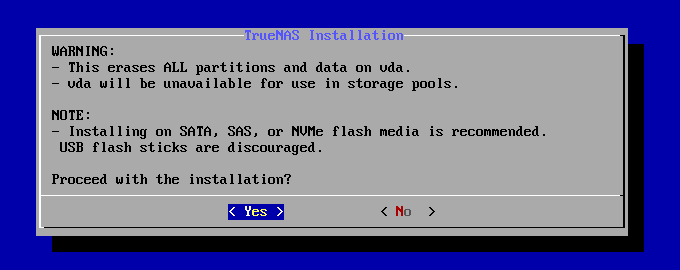
A confirmation screen follows and names the disk it is about to erase. It also repeats the advice from the previous section: installing on SATA, SAS, or NVMe flash media is recommended, and USB flash sticks are discouraged.
Set the Administrator Password
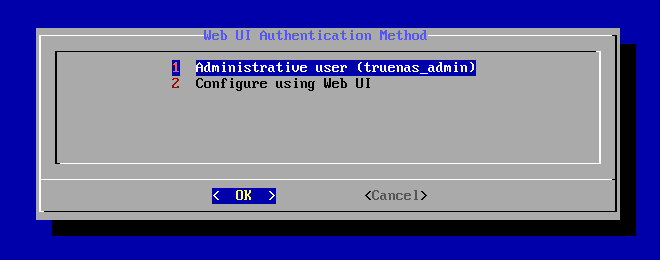
The installer then asks how you want to sign in to the web interface. The first option creates a local administrator called truenas_admin right now, and the second postpones the choice until you open the web interface. The first option keeps the setup in one place.
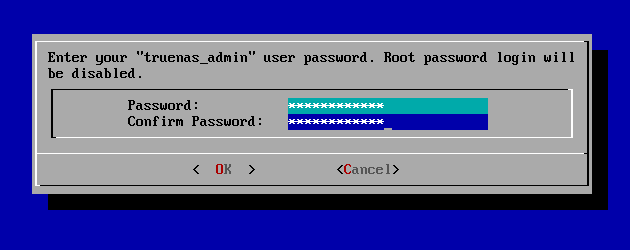
Type a password, press Tab, and type it again. The screen says plainly that root password login will be disabled, which is the right default: the account everyone knows to attack no longer accepts a password. Choose something long and store it in a password manager.
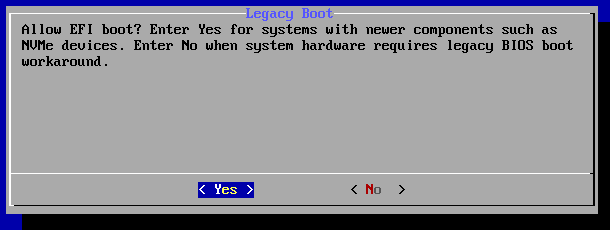
Depending on how the machine booted the installer, one more question may follow, titled Legacy Boot and shown below. Answer Yes for newer systems and NVMe drives and No only when the hardware needs the legacy BIOS workaround, and check the installation guide if you are unsure.
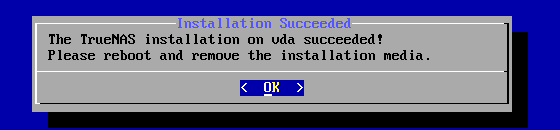
The copy takes a few minutes. When it ends, the installer reports that the installation succeeded and asks you to remove the installation media. Choose OK, shut the system down from the menu, unplug the USB stick, and power the NAS back on so it boots from the SSD.
Reach the Web Interface
The first boot takes a couple of minutes while TrueNAS prepares its services. It ends on a text screen that lists the addresses of the web interface, and it is the only screen you will ever need on the NAS itself, because everything else happens from a browser on another computer.
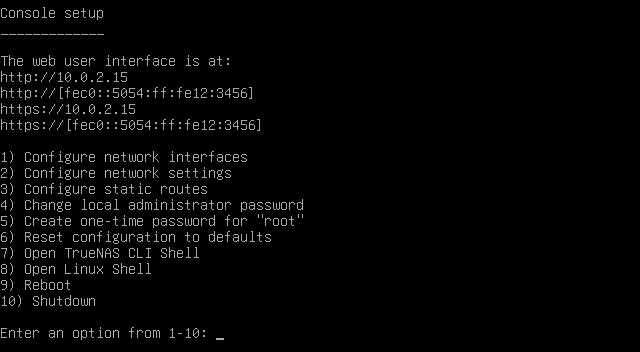
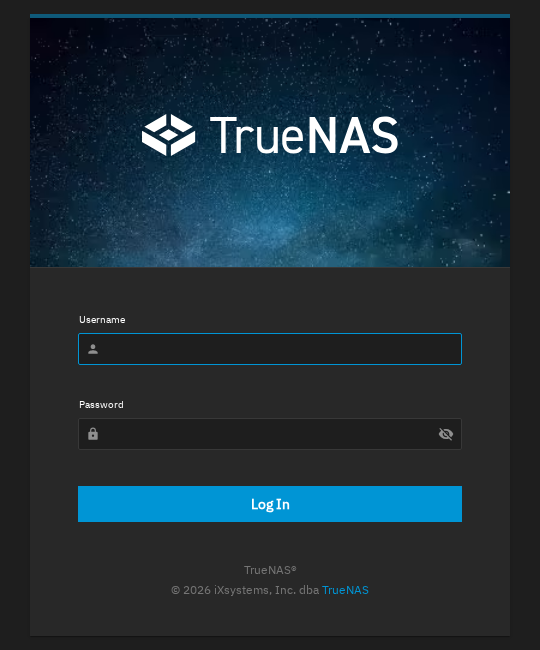
Type that address into a browser on any computer in the same network. The page uses a certificate that TrueNAS generated for itself, so the browser shows a warning the first time. That is expected on a new system, and you can continue past it.
What if the console shows no address?
Then the NAS has no network lease yet. Check the cable and the router's lights first. If both look fine, choose option 1, Configure network interfaces, from the same menu, or option 2 to set an address by hand.
One habit pays off immediately: log in to your router and reserve this address for the NAS, usually under a name like DHCP reservation or static lease. Every later step, from file shares to the tunnel, assumes the NAS keeps the same address.
The dashboard opens after you sign in. The System Information card confirms what you installed: the edition, the exact version, and the hostname. If the version differs slightly from the one in the screenshot, nothing changes in the steps that follow.
Create the Storage Pool
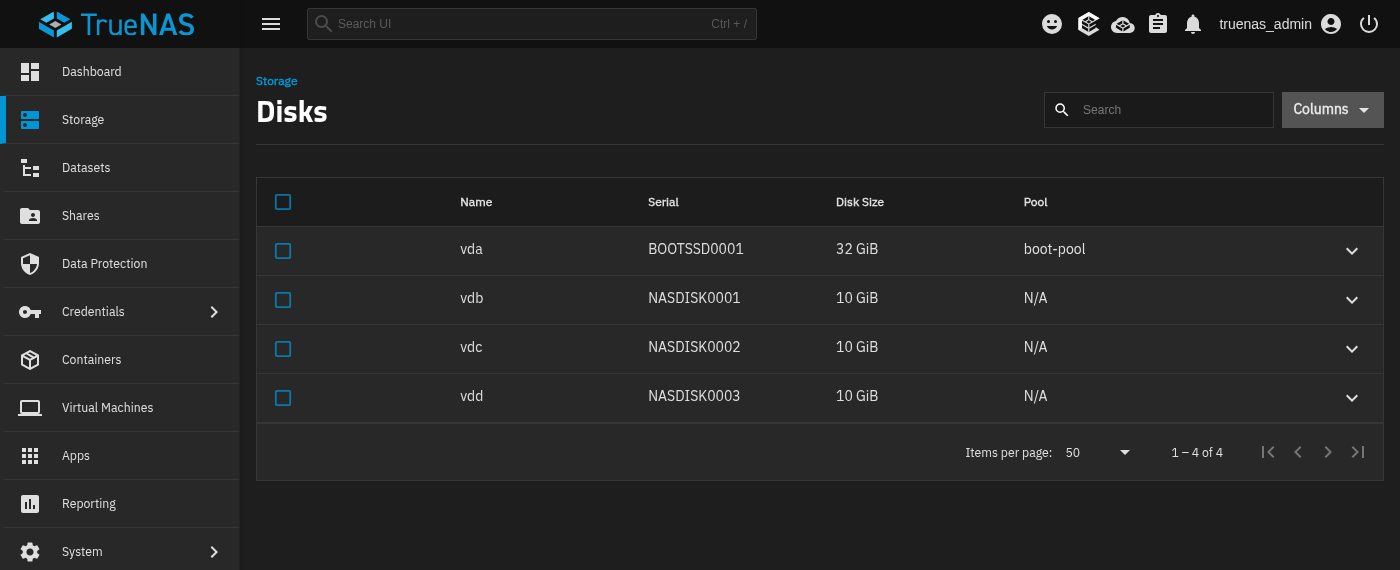
The NAS can't store anything yet, because TrueNAS has no pool. A pool is the container made from your data disks, and every dataset and share you create later lives inside it. Open Storage in the left menu to see the disks the system found.
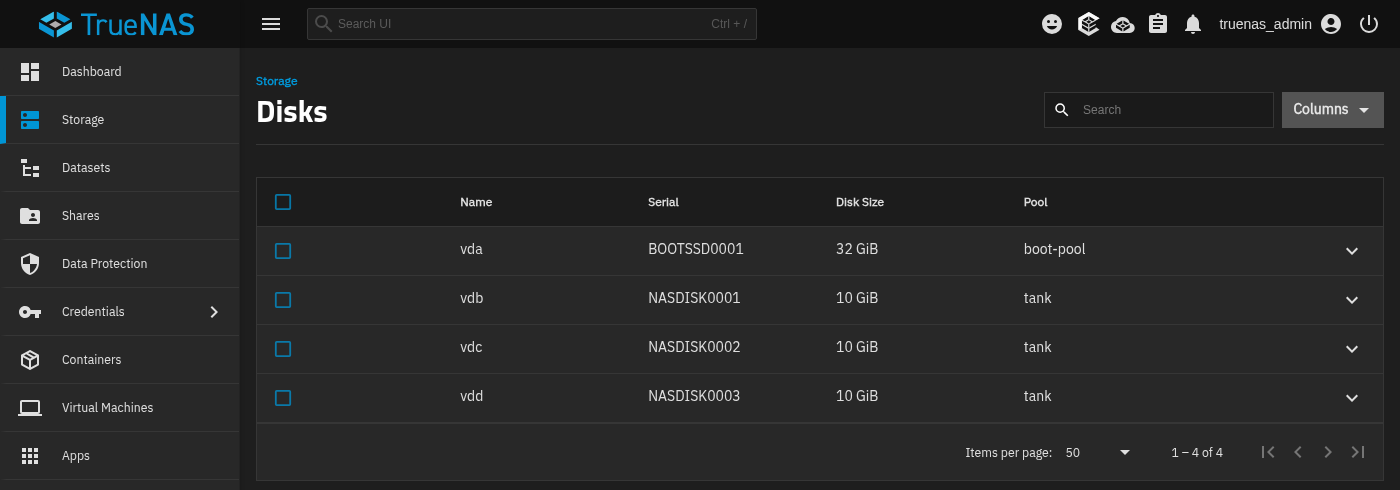
The serial number column matters. It matches the label printed on each physical disk, so when the system reports a failing drive months from now you know which one to pull.
Pick a Name and a Layout
Select Create Pool, type a name, and continue. The name tank is the long-standing convention and any short lowercase name works. The Data step is where the layout from the previous section becomes real: choose RAIDZ1 for three disks, set the width to the number of disks, and keep one vdev.
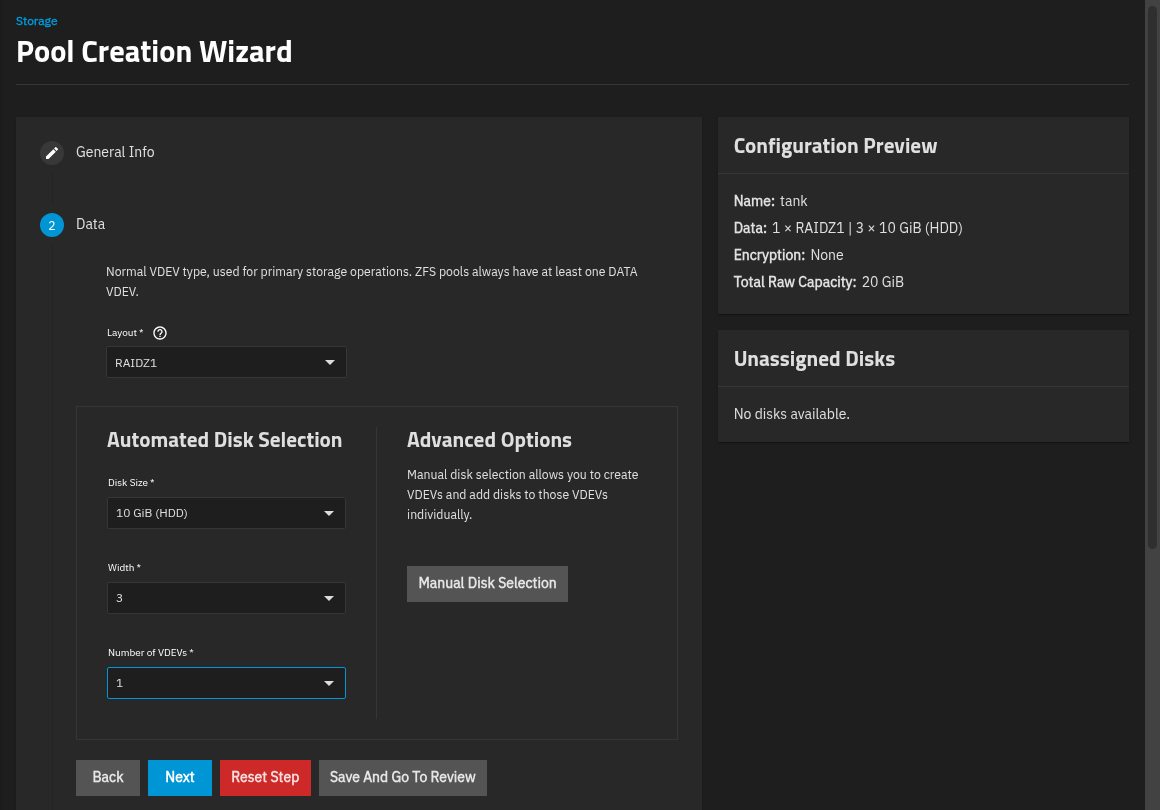
The wizard builds the vdev for you from the disks of the size you pick, and the preview on the right shows the result before anything is written: name, layout, and total raw capacity. If you have two disks, choose Mirror instead. Four disks give you the choice between RAIDZ1 and RAIDZ2 discussed earlier.
Review and Create the Pool
Save And Go To Review opens the last screen. It lists the pool name, the topology, and the estimated usable capacity, which is lower than the raw total because RAIDZ1 reserves one disk's worth for parity.
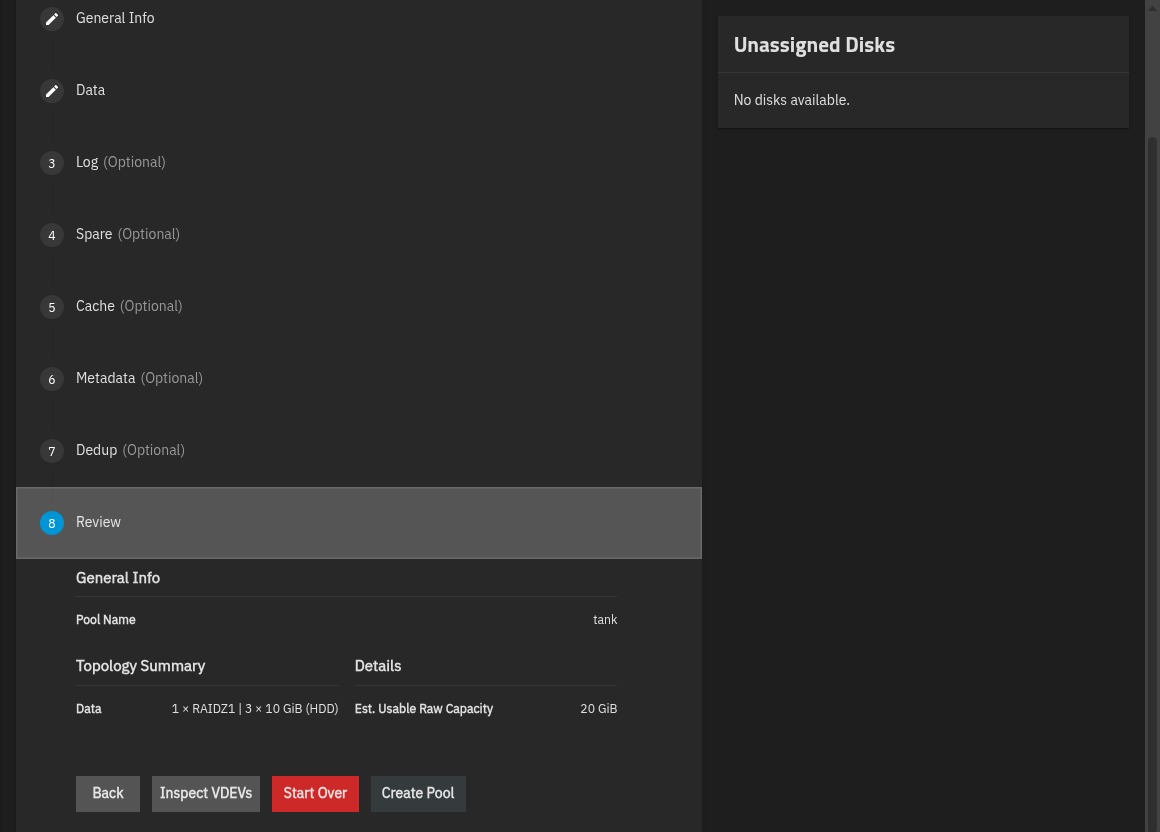
Create Pool opens a warning that the contents of all added disks will be erased. Tick Confirm, then choose Continue. A few seconds later the Storage dashboard shows the new pool.
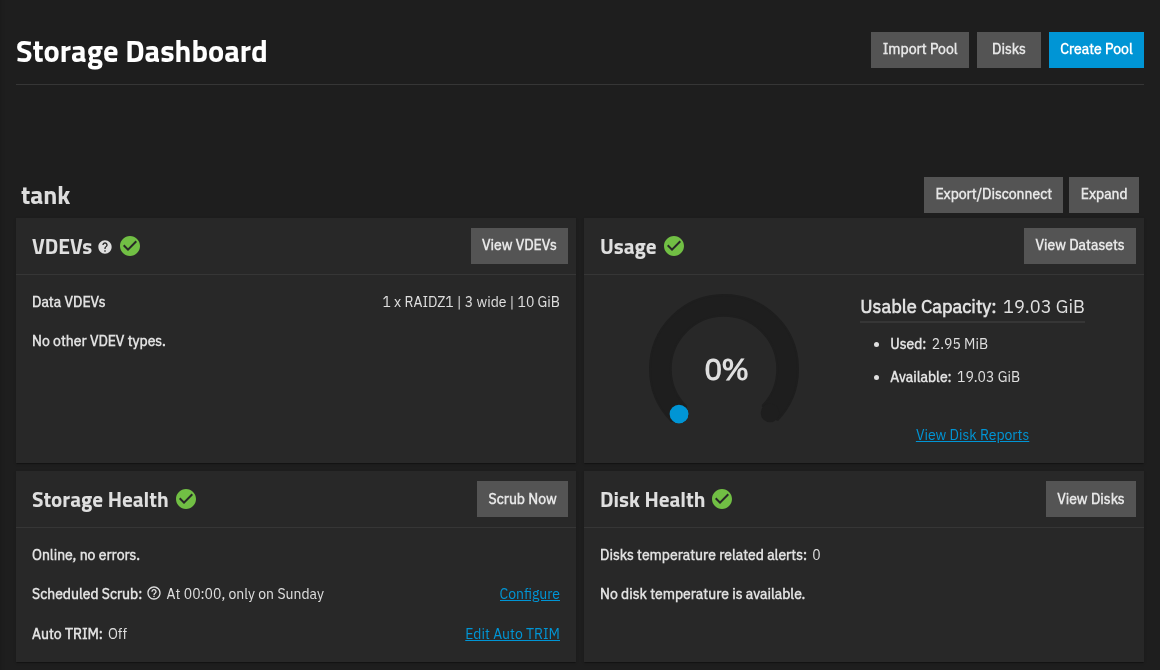
The Storage Health card tells you two useful things already. The pool is online with no errors, and TrueNAS has scheduled a scrub for you: every Sunday at 00:00 it reads all the data in the pool and checks it against its checksums. The last section of this guide returns to scrubs and shows what to schedule around them.
If the pool should be encrypted, the wizard offers an Encryption checkbox on its first step. Read the TrueNAS getting started documentation about key handling before you tick it, because losing the key loses the data.
In summary
- The installer erases the disk you mark, and only the boot SSD should carry the mark.
- The truenas_admin account replaces root as the web interface login.
- A DHCP reservation keeps the NAS at the same address for every later step.
- A pool turns your data disks into one container with a layout of your choice.
In the next section, you'll create a dataset inside this pool and share it with the computers on your network.