
In the previous section, you picked a machine that reports kvm or none and has at least 8 GiB of memory, namely the one that will run both halves of Pterodactyl. To log into a panel that manages game servers, you'll first install its web application and everything it depends on.
Every command below runs as root on a fresh Ubuntu 24.04 server, so open a root shell with sudo -i first. The commands follow the official panel installation documentation, with the versions that Ubuntu 24.04 provides.
Install the Dependencies
The panel is a PHP application, so the first job is a PHP 8.3 runtime with the extensions the panel loads, plus the database, the cache, and the web server. The Redis project publishes its own package repository, and the official documentation adds it before installing, so the commands below do the same. The first block prepares the repository and the second installs everything in one go:
apt -y install software-properties-common curl apt-transport-https ca-certificates gnupg

curl -fsSL https://packages.redis.io/gpg | gpg --dearmor -o /usr/share/keyrings/redis-archive-keyring.gpg
echo "deb [signed-by=/usr/share/keyrings/redis-archive-keyring.gpg] https://packages.redis.io/deb $(lsb_release -cs) main" > /etc/apt/sources.list.d/redis.list

apt update
apt -y install php8.3 php8.3-{common,cli,gd,mysql,mbstring,bcmath,xml,fpm,curl,zip} mariadb-server nginx tar unzip git redis-server
On Ubuntu 22.04 the same list works after you add the ppa:ondrej/php repository first, because that release ships an older PHP. On 24.04 the PHP packages come straight from Ubuntu. When the installation ends, a quick version check shows what you got:
php -v | head -1
mariadb --version
nginx -v
redis-server --version
A fresh Ubuntu 24.04 gave PHP 8.3.6, MariaDB 10.11.14, and nginx 1.24.0, all within the versions the panel accepts. Then install Composer, the PHP dependency manager that downloads the libraries the panel is built from:
curl -sS https://getcomposer.org/installer | php -- --install-dir=/usr/local/bin --filename=composerCreate the Database
The panel keeps its users, servers, and settings in MariaDB, so it needs a database of its own and a user that can only touch that database. Open the MariaDB shell with mariadb -u root and run the following, replacing yourPassword with a long random value of your own:
CREATE USER 'pterodactyl'@'127.0.0.1' IDENTIFIED BY 'yourPassword';
CREATE DATABASE panel;
GRANT ALL PRIVILEGES ON panel.* TO 'pterodactyl'@'127.0.0.1' WITH GRANT OPTION;
exit
Why does the user say 127.0.0.1 and not localhost?
MariaDB treats the two as different hosts. The panel connects over TCP to 127.0.0.1, so the account has to be created for that address, and an account created for localhost would be refused with an access-denied error.
Download and Configure the Panel
The panel lives in /var/www/pterodactyl. The project publishes a ready-made archive on each release, so there is nothing to compile: download it, unpack it, and let Composer fetch the PHP libraries.
mkdir -p /var/www/pterodactyl
cd /var/www/pterodactyl
curl -Lo panel.tar.gz https://github.com/pterodactyl/panel/releases/latest/download/panel.tar.gz
tar -xzvf panel.tar.gz
chmod -R 755 storage/* bootstrap/cache/

cp .env.example .env
COMPOSER_ALLOW_SUPERUSER=1 composer install --no-dev --optimize-autoloader
php artisan key:generate --force
The last command writes a random APP_KEY into the .env file. The panel uses that key to encrypt everything sensitive it stores, including API keys, and the database alone cannot recover the data without it.
Before moving on: make sure the APP_KEY line is saved somewhere other than this server. To check, run grep APP_KEY /var/www/pterodactyl/.env and copy the line into a password manager, because a lost key makes every encrypted value in a backup unreadable.
Set the Environment
Three artisan commands fill in the rest of the .env file. Each one asks its questions interactively when you run it without options, and each accepts the answers as options too. The values below are the ones used in this guide:
php artisan p:environment:setup \
  [email protected] \
  --url=https://panel.example.com \
  --timezone=Europe/Paris \
  --cache=redis --session=redis --queue=redis \
  --redis-host=127.0.0.1 --redis-port=6379 \
  --settings-ui=true

php artisan p:environment:database \
  --host=127.0.0.1 --port=3306 \
  --database=panel --username=pterodactyl --password=yourPassword
The --url value is the address you will type in the browser, and it must match the domain you point at this machine. The time zone matters more than it looks, because the panel evaluates schedules in that zone: a task set for 04:00 runs at 04:00 in Europe/Paris, and Part 4 uses that for backups. Since version 1.11 the panel also sends anonymous usage telemetry, and the PTERODACTYL_TELEMETRY_ENABLED line in .env turns it off if you prefer.
The third command, php artisan p:environment:mail, tells the panel how to send email for account and server notifications. Choose SMTP with your provider's details, or the log driver while you test.
If the panel logs errors about smtp.example.com after you pick another mail driver, open /var/www/pterodactyl/.env and compare MAIL_MAILER with the driver you chose, because the command can leave MAIL_MAILER=smtp in place. Setting it to log or to your real transport fixes it, and php artisan config:clear applies the change.
Create the Tables and the First Administrator
The next command builds the database tables and loads the default nests and eggs, the templates that tell Pterodactyl how to install and start each game. It finishes in a few seconds on a fresh install, and it must not be interrupted:
php artisan migrate --seed --forceThen create the administrator account. The command asks for an email address, a username, a first and last name, whether the user is an administrator, and a password of at least eight characters with mixed case and a number. Answer yes to the administrator question for this first account:
php artisan p:user:makeFinally, hand the files to the user that the web server runs as, which is www-data on Ubuntu:
chown -R www-data:www-data /var/www/pterodactyl/*Start the Background Workers
The panel does part of its work outside the web request: sending email, announcing that a server finished installing, and running schedules. Two things make that happen. The first is a cron entry that runs the scheduler every minute. Open the root crontab with crontab -e and add this line:
* * * * * php /var/www/pterodactyl/artisan schedule:run >> /dev/null 2>&1The second is a queue worker that stays running as a systemd service. Create /etc/systemd/system/pteroq.service with this content:
[Unit]
Description=Pterodactyl Queue Worker
After=redis-server.service

[Service]
User=www-data
Group=www-data
Restart=always
ExecStart=/usr/bin/php /var/www/pterodactyl/artisan queue:work --queue=high,standard,low --sleep=3 --tries=3
StartLimitInterval=180
StartLimitBurst=30
RestartSec=5s

[Install]
WantedBy=multi-user.target
Enable Redis and the worker so both survive a reboot:
systemctl enable --now redis-server
systemctl enable --now pteroq.service
Once servers exist, journalctl -u pteroq shows the worker handling jobs, for example a ServerInstalled notification each time a server finishes its installation. A worker that is not running is the usual reason a panel looks fine while installs never report back.
Serve the Panel Over HTTPS
A login page should never travel over plain HTTP, and the node you add in the next section has to use HTTPS as well whenever the panel does. Point a DNS record for your panel domain at the machine first, then get a certificate. The project's certificate tutorial covers certbot with the nginx plugin, a standalone mode, and a DNS challenge for machines that cannot expose port 80. The nginx plugin looks like this:
apt install -y certbot python3-certbot-nginx
certbot certonly --nginx -d panel.example.com
Certbot stores the certificate under /etc/letsencrypt/live/panel.example.com/, the folder that the nginx file below points at. Remove the default site, then create /etc/nginx/sites-available/pterodactyl.conf from the official template, replacing every <domain> with your panel domain:
server {
    listen 80;
    server_name <domain>;
    return 301 https://$server_name$request_uri;
}

server {
    listen 443 ssl http2;
    server_name <domain>;

    root /var/www/pterodactyl/public;
    index index.php;

    access_log /var/log/nginx/pterodactyl.app-access.log;
    error_log  /var/log/nginx/pterodactyl.app-error.log error;

    client_max_body_size 100m;
    client_body_timeout 120s;

    sendfile off;

    ssl_certificate /etc/letsencrypt/live/<domain>/fullchain.pem;
    ssl_certificate_key /etc/letsencrypt/live/<domain>/privkey.pem;
    ssl_session_cache shared:SSL:10m;
    ssl_protocols TLSv1.2 TLSv1.3;
    ssl_ciphers "ECDHE-ECDSA-AES128-GCM-SHA256:ECDHE-RSA-AES128-GCM-SHA256:ECDHE-ECDSA-AES256-GCM-SHA384:ECDHE-RSA-AES256-GCM-SHA384:ECDHE-ECDSA-CHACHA20-POLY1305:ECDHE-RSA-CHACHA20-POLY1305:DHE-RSA-AES128-GCM-SHA256:DHE-RSA-AES256-GCM-SHA384";
    ssl_prefer_server_ciphers on;

    add_header X-Content-Type-Options nosniff;
    add_header X-XSS-Protection "1; mode=block";
    add_header X-Robots-Tag none;
    add_header Content-Security-Policy "frame-ancestors 'self'";
    add_header X-Frame-Options DENY;
    add_header Referrer-Policy same-origin;

    location / {
        try_files $uri $uri/ /index.php?$query_string;
    }

    location ~ \.php$ {
        fastcgi_split_path_info ^(.+\.php)(/.+)$;
        fastcgi_pass unix:/run/php/php8.3-fpm.sock;
        fastcgi_index index.php;
        include fastcgi_params;
        fastcgi_param PHP_VALUE "upload_max_filesize = 100M \n post_max_size=100M";
        fastcgi_param SCRIPT_FILENAME $document_root$fastcgi_script_name;
        fastcgi_param HTTP_PROXY "";
        fastcgi_intercept_errors off;
        fastcgi_buffer_size 16k;
        fastcgi_buffers 4 16k;
        fastcgi_connect_timeout 300;
        fastcgi_send_timeout 300;
        fastcgi_read_timeout 300;
        include /etc/nginx/fastcgi_params;
    }

    location ~ /\.ht {
        deny all;
    }
}
The listing is the official template with its comment lines removed, so the web server configuration page stays the reference when a new release changes it. Enable the site and restart nginx:
rm /etc/nginx/sites-enabled/default
ln -s /etc/nginx/sites-available/pterodactyl.conf /etc/nginx/sites-enabled/pterodactyl.conf
nginx -t
systemctl restart nginx
The nginx -t line checks the syntax before the restart, so a typo cannot take the web server down. Open https://panel.example.com in a browser, using your own domain, and the Pterodactyl login screen appears.
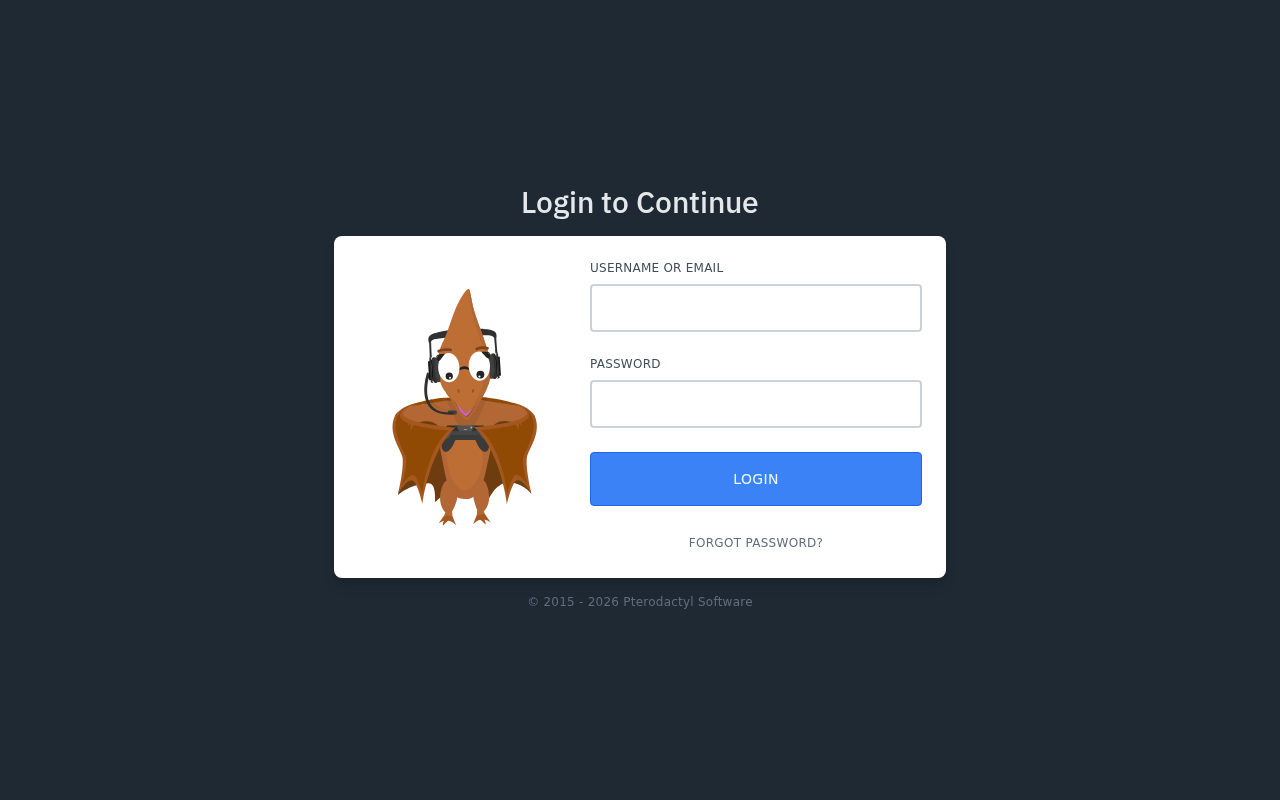
If the login form shows an error that the reCAPTCHA instance did not render, open /var/www/pterodactyl/.env and add RECAPTCHA_ENABLED=false on its own line, then run php artisan config:clear. You can set your own reCAPTCHA keys later under Settings, Advanced in the admin area.
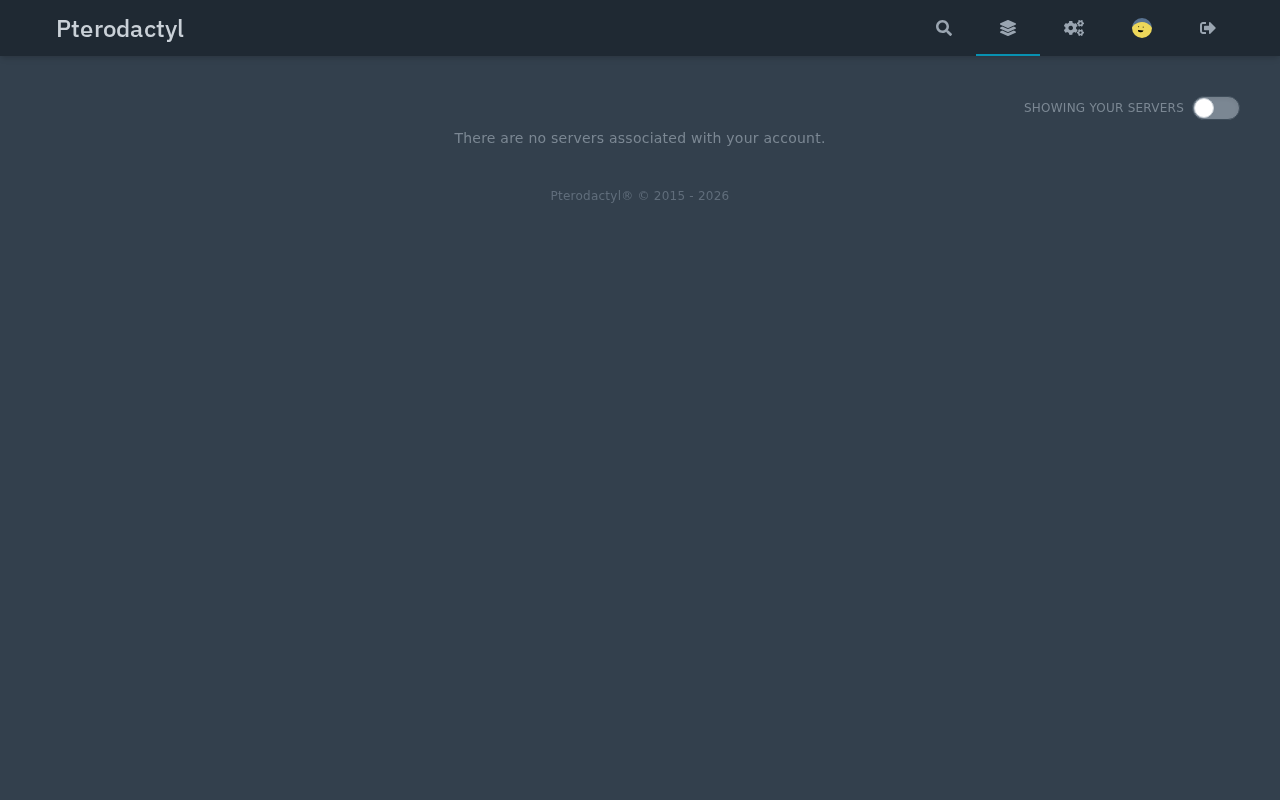
Log in with the administrator account created earlier. A new account has no servers, so the dashboard says so, and that is the correct state at this point.
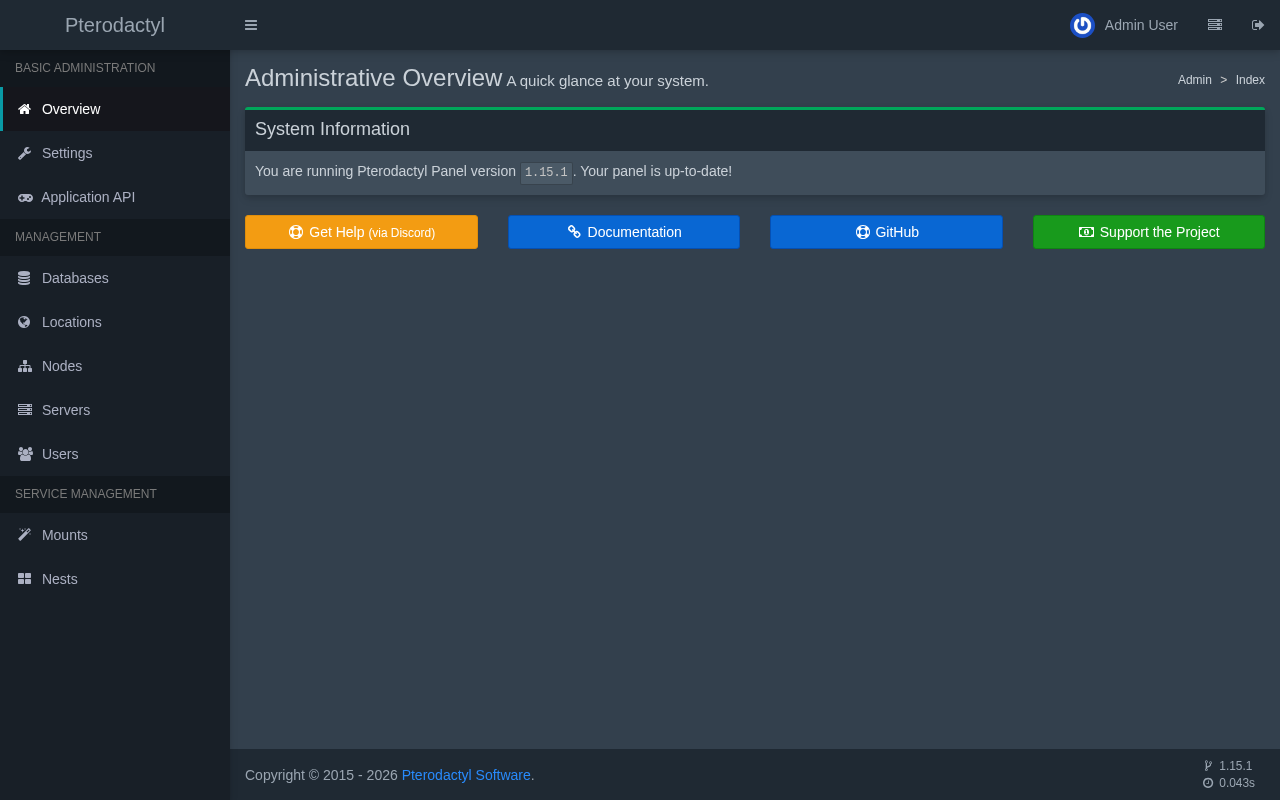
The admin area is one click away from the user dashboard, at /admin on your domain. Its overview page confirms the panel version, which was 1.15.1 at the time of writing, and that the panel is up to date. Every later section works from the sidebar of this page: Locations, Nodes, Servers, Nests, and Users.
In summary
- The panel needs PHP 8.3, MariaDB, Redis, and nginx, all available on Ubuntu 24.04.
- The
APP_KEYin.envencrypts the panel's secrets, so a copy stored elsewhere is mandatory. - The cron entry and the
pteroqservice run schedules and notifications, and a panel looks healthy without them. - An HTTPS certificate and the official nginx template put the login page on your own domain.
In the next section, you'll install Wings, register it as a node in this panel, and give it addresses to hand out.